

Installing a Ledger on Masonry
When installing a ledger on masonry, you may come across an issue. While masonry is a strong material, it alone is not enough to bear the stress a ledger board can apply to it. Don’t worry though! This absolutely does not mean there are no other options. Anchoring the ledger board to the masonry, as opposed to just fastening, will undoubtedly give you the structural support you need.
Here is a step by step guide to anchoring a ledger to masonry:

Draw a line so you know exactly where the ledger will be placed.
- Outline the ledger: Mark on the wall where the ledger will be. If the ledger you are dealing with is long, use a water level to ensure a well balanced ledger.

Using concrete screws, attach the ledger to the masonry. This will be a temporary fastener.
- Tack Ledger in Place: Make marks on the ledger for joist and fasteners. Use concrete screws to attach the ledger to the masonry. This will not be the final fastener used.

Drill holes halfway through the ledger to mark locations for final fasteners.
- Drill Marker Holes: Use a twist drill to drill holes where the fasteners were marked. Only drill 1 ½ inches into the marks being careful to not over drill into the masonry.

Using a masonry bit, drill the remaining part of the fastener hole, straight through to the masonry.
- Drill Anchor Holes: Use a masonry bit in hammer drill to drill holes 3 inches into the masonry. This will penetrate the undrilled wood at the bottom of the previous marked holes.
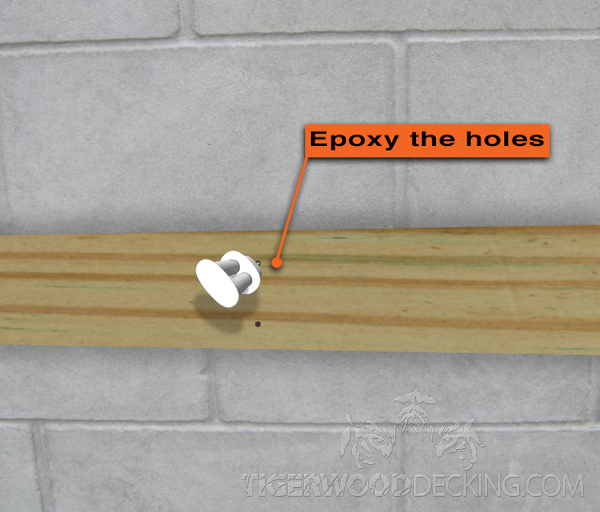
Use an epoxy syringe to insert the adhesive into the drilled holes.
- Epoxy the Holes: Remove the ledger and evenly insert epoxy into the predrilled holes. Only use the adhesive in the masonry and not the ledger.
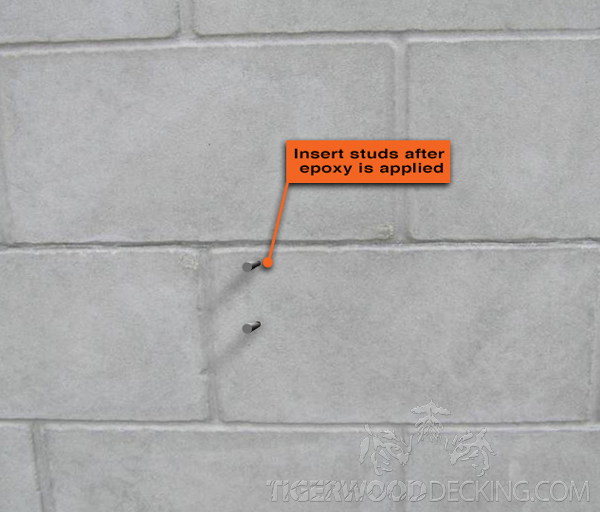
Insert the threaded studs into the epoxied holes. Allow the glue to dry completely.
- Insert Studs: Insert threaded studs into the holes right after they’ve been epoxied. Don’t wait too long to do this, on account of the glue drying and making the insert of the studs nearly impossible.
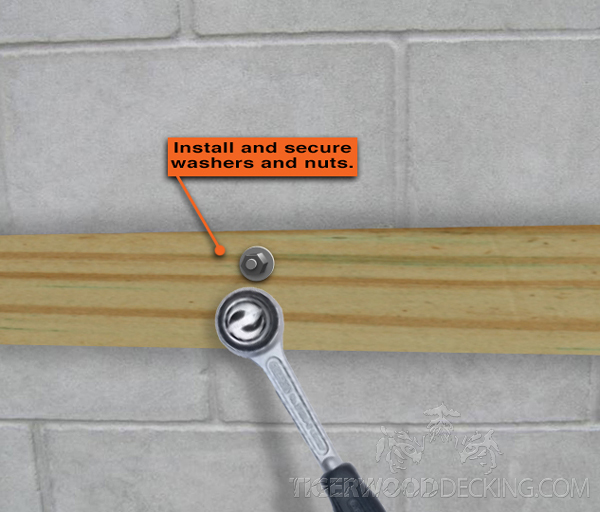
After the epoxy has dried completely, replace the ledger board and secure tightly with washers and nuts.
- Install Washers and Nuts: after the adhesive settles overnight position the ledger over the studs. Slide washers over the studs and tighten the nuts with a socket wrench, don’t over tighten.
It’s crucial that all steps are taken to ensure that you have installed a stable ledger on a masonry surface. As always, if you are unsure of this installation, call a local licensed contractor to do the dirty work. Don’t get in over your head. Improperly installed ledgers can result in an extremely dangerous deck collapse. Don’t let that happen to you.
Do you want to use Tigerwood Decking for your next project? Don’t waste any time! Place your order with us today!

