

How to Attach Joists & Rim Joists
Properly installing joists is crucial when building your deck. Joists are the support beams that the decking attaches to. The easiest way of building this is installing the rim joists, which are the frame of your deck, and then installing the joists in the middle. Be sure to use joist hangers when attaching the joists to the ledger and beam. Never ever rely on nails to secure your decking. Lag bolts and screws and the best, and safest, materials to secure your deck with.
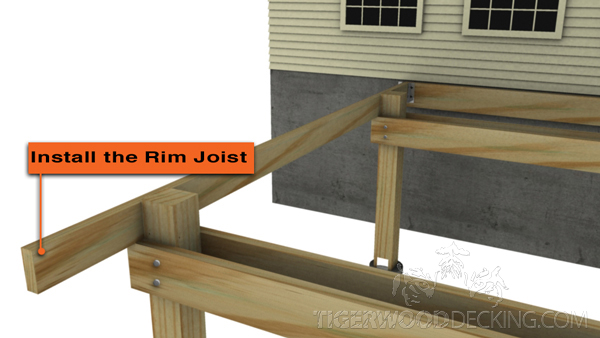
Installing the rim joists first will provide you with a frame to install the remaining joists in.
- Once all of the joists, and rim joists, are cut and measured to length, attach one end of the rim joist to the ledger with a joist hanger. The rim joists should be about 1 ½ shorter than the front to back measurement of the deck.
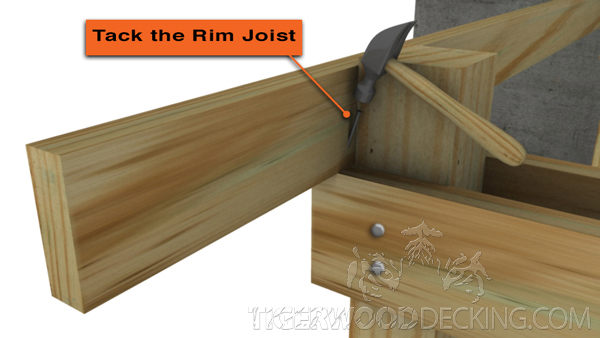
Use a nail to temporary attach the rim joist to the beam. This will NOT be the final fastener used in installation.
- Create a framing corner with the rim joist and the beam. Adjust the rim joist until it’s square with your home and is flush with the beam. Insert a nail through the rim joist and into the beam as a temporary fastener.

Header installation completes the square frame for the joist system.
- Installing the header is easily done with two people. Have the other person hold the header up so you can use a screw to attach the header to the end of the rim joist.

Marking the hanger locations makes the joist installation process go a little smoother.
- Mark the locations of the joist hangers as shown on your dimensioned plan.

Using a flange allows you to keep the joist system flush with the top and bottom of the ledger/header.
- Cut joists to length then tack a 2x flange on the top of the joist to keep it flush with the ledger and header. Line up the joists to the marked areas then slide joist hangers onto the bottom of the joist. Fasten the hanger to the ledger and header.
Repeat these steps for each joist. Ensure you are using the proper hardware for your decking that offers the best support for your decking. As always if you are unsure of decking installation contact a local licensed contractor to do the work for you. Faulty installation could result in a deck collapse, don’t take on more than you can handle!
Want to hear what others are saying about Tigerwood Decking? Check out our testimonials page!

